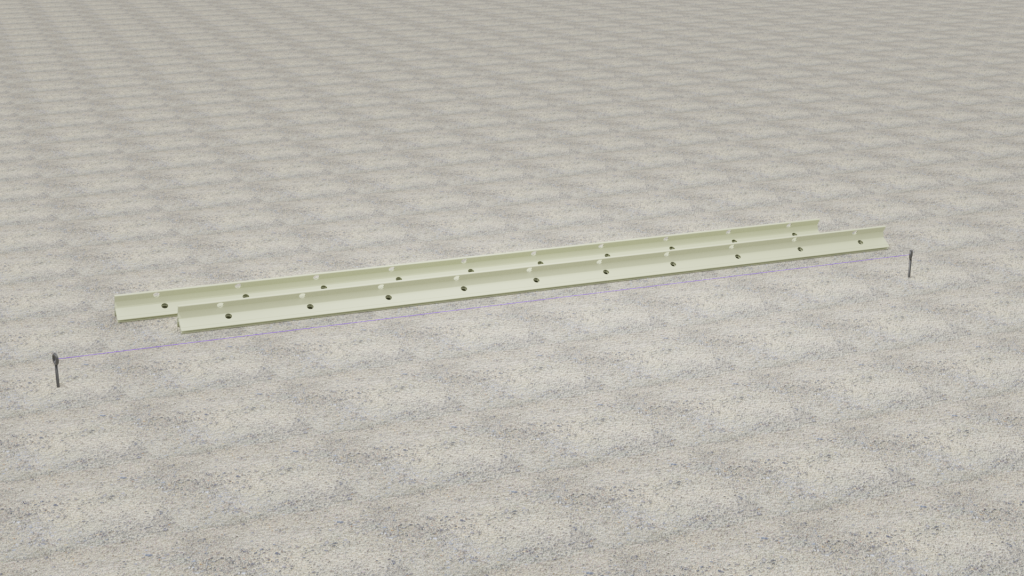
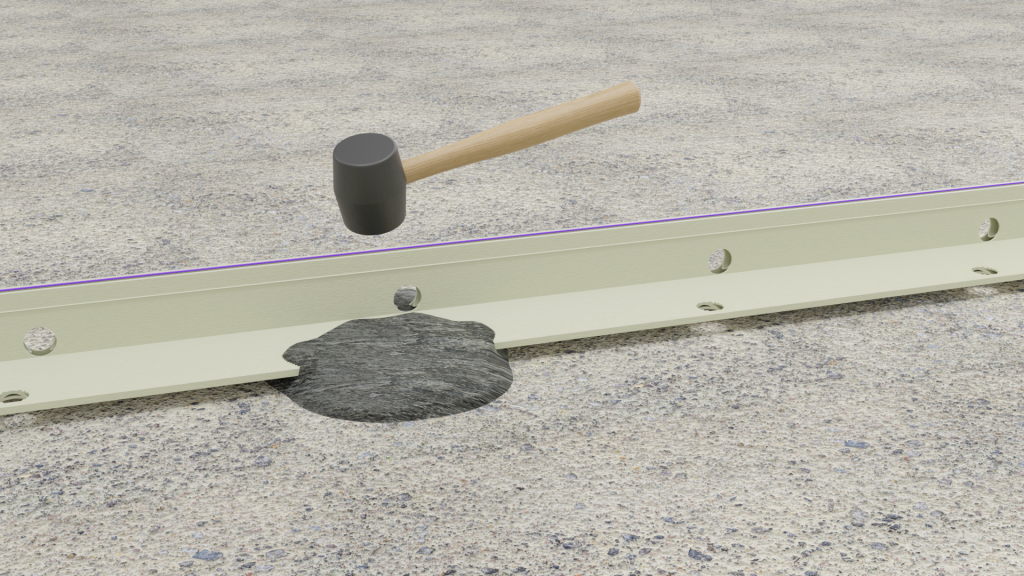
Place a string-line along where the Tec-Form is to be positioned.
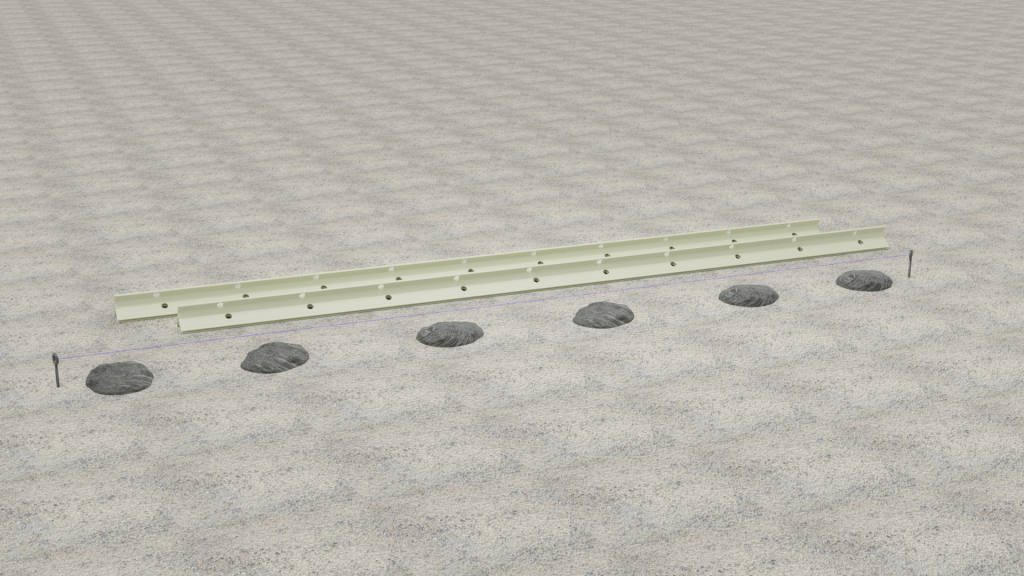
Place concrete or mortar dabs under the string-line approximately 300mm in from each end of the 2.7m length of rail and then space the dabs between them at approximately 700mm centres.
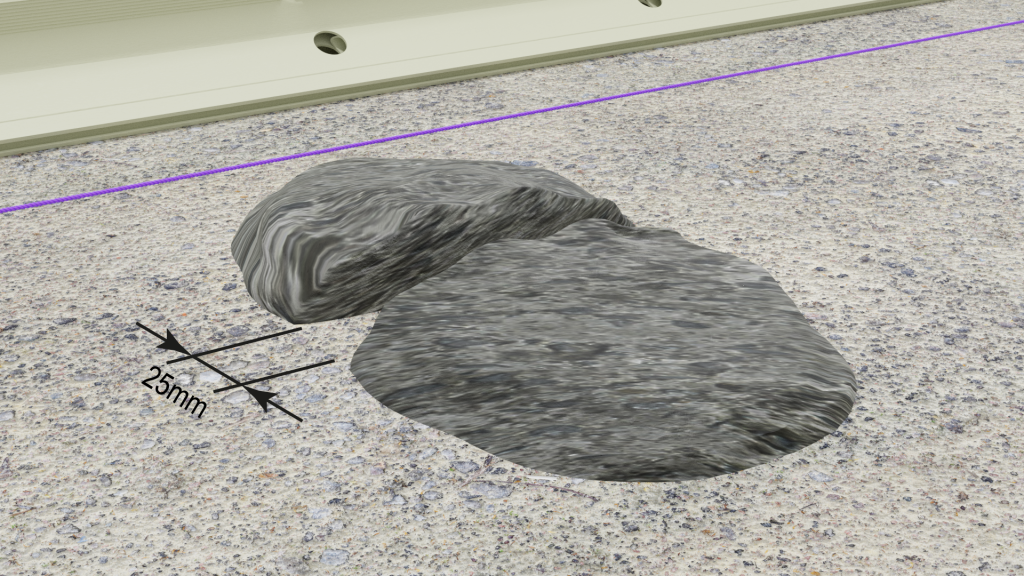
If using Tec-Form rails to form a movement joint, ensure that the dabs are divided into two equal piles, with a minimum 25mm gap between the piles – to accommodate slab movement.
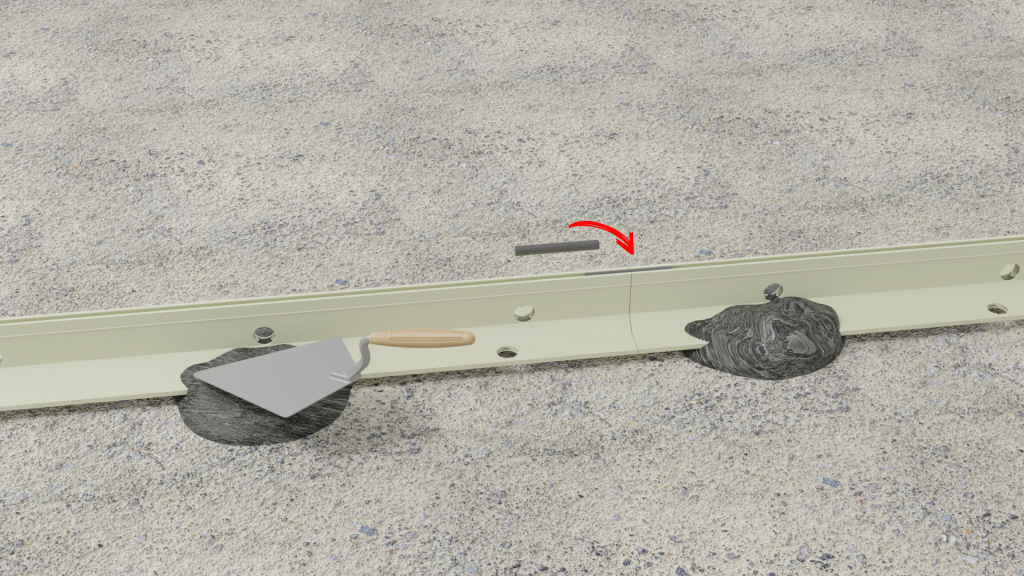
Place Tec-Form rails in line, resting on dabs – tamp down gently to correct height – ensure alignment.
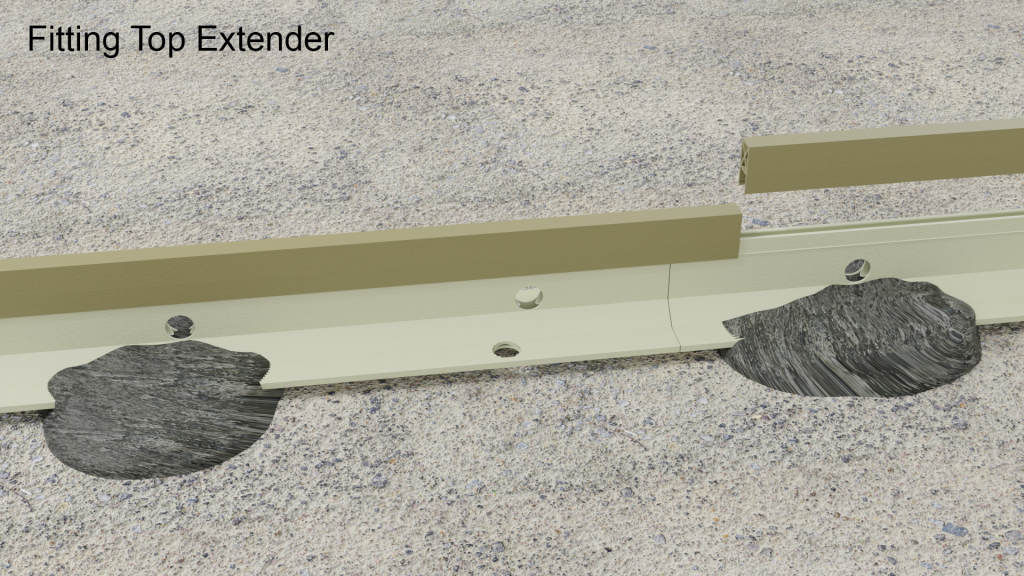
Trowel over excess concrete/mortar onto rail base, and bench up the sides, ensuring correct alignment and height of rails, especially at joints. Straight Coupler Alignment Ferrules are available if required – simply pop into the top slot on the rails where they join – allow concrete/mortar to cure.
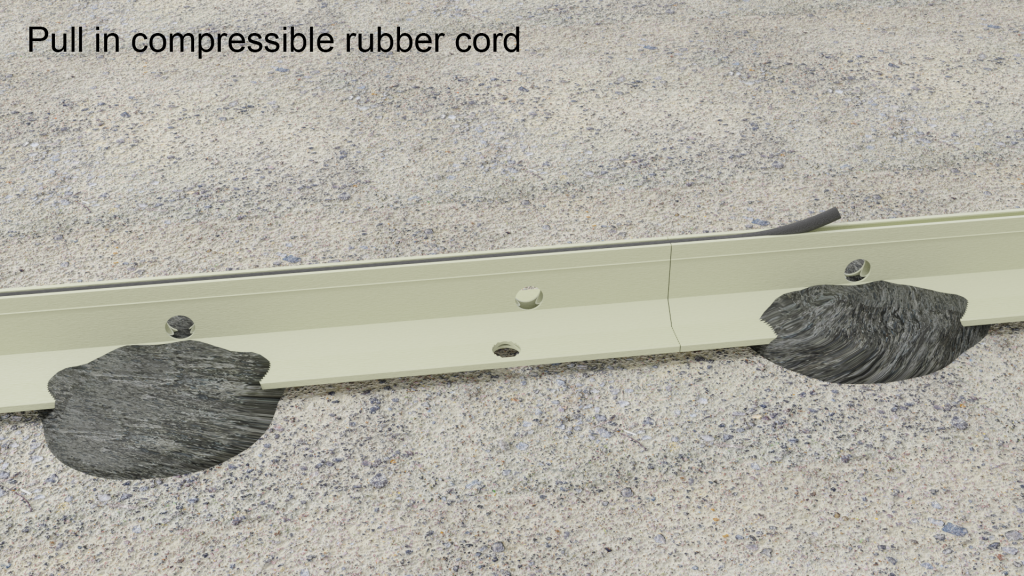
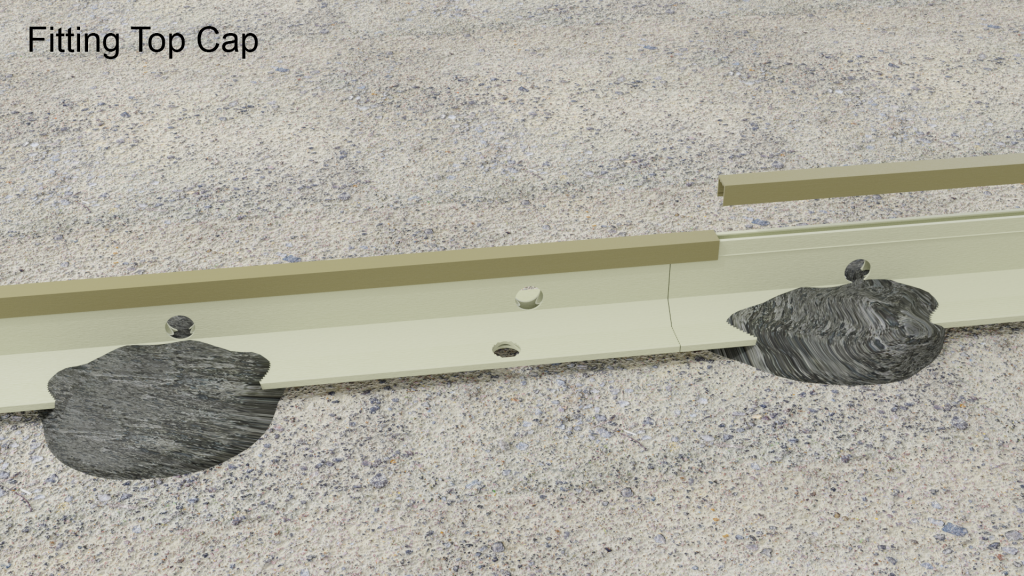
The rails are now installed securely – at this point you can either remove the Ferrules and pull in the Rubber Cord, or simply pop on a Top Strip or Extender as required – if using top strips, overlap the rail length joints slightly, to ensure perfect alignment of the lengths of Tec-Form.
With the Tec-Form rails installed, in the configuration desired allow the concrete/mortar dabs to harden.
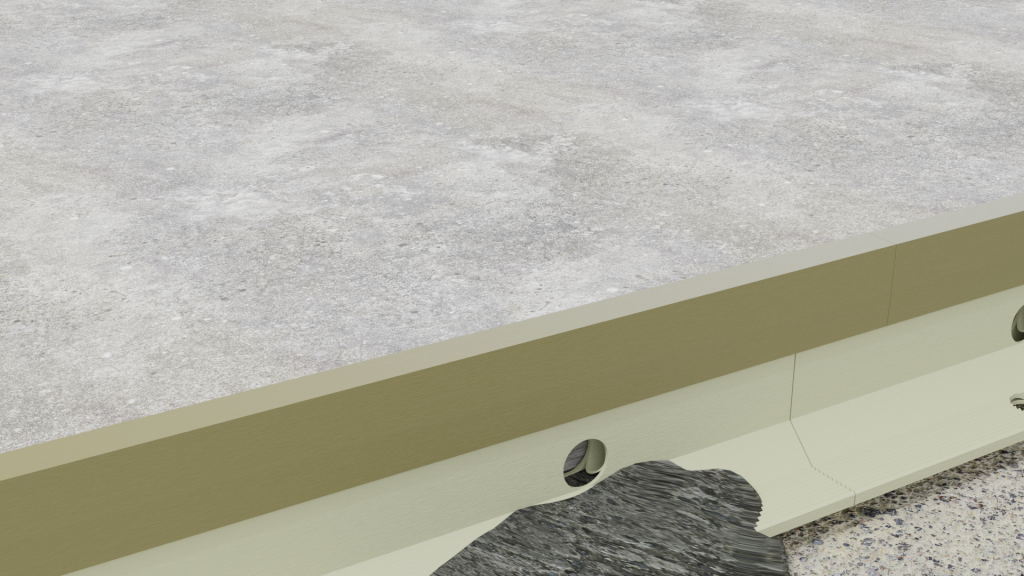
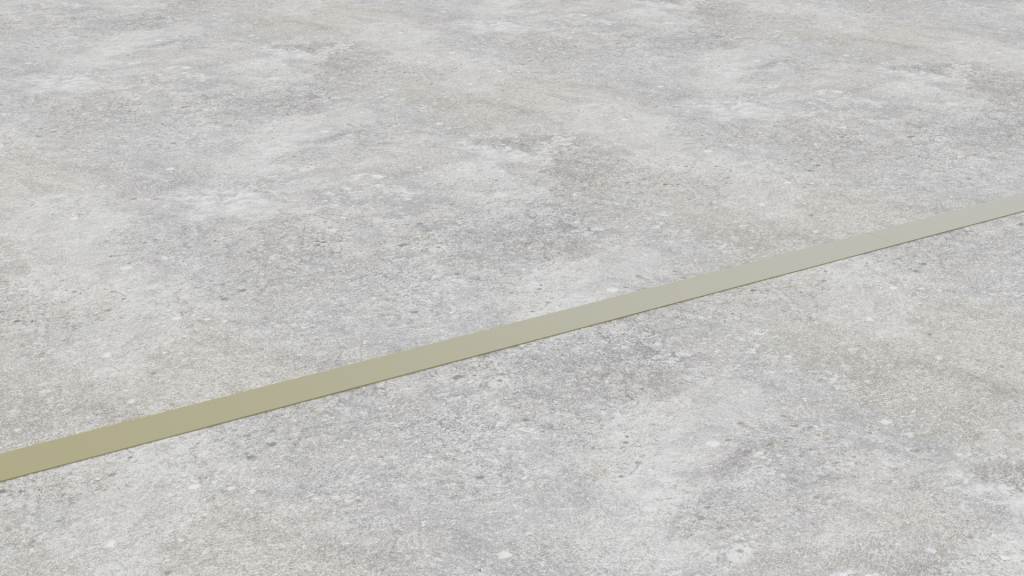
Screeds/slabs can now be installed either side of rails – both side simultaneously if required.
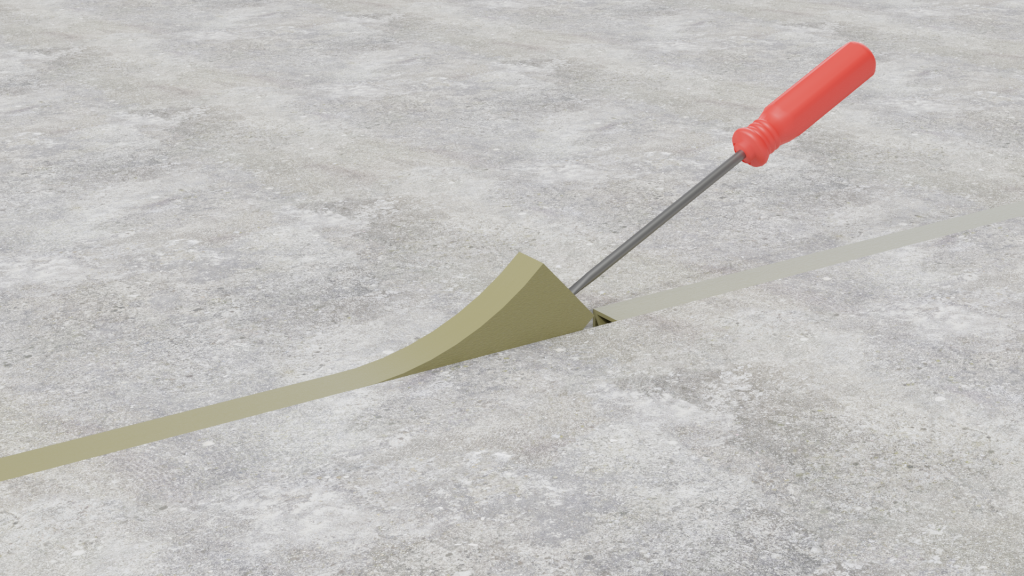
After the new slab/screed has hardened sufficiently, the Top Strips or Extenders can be removed for re-use, simply pop/lift off using a screwdriver at one end to break the seal and free the strips. – or alternatively leave in situ if required.
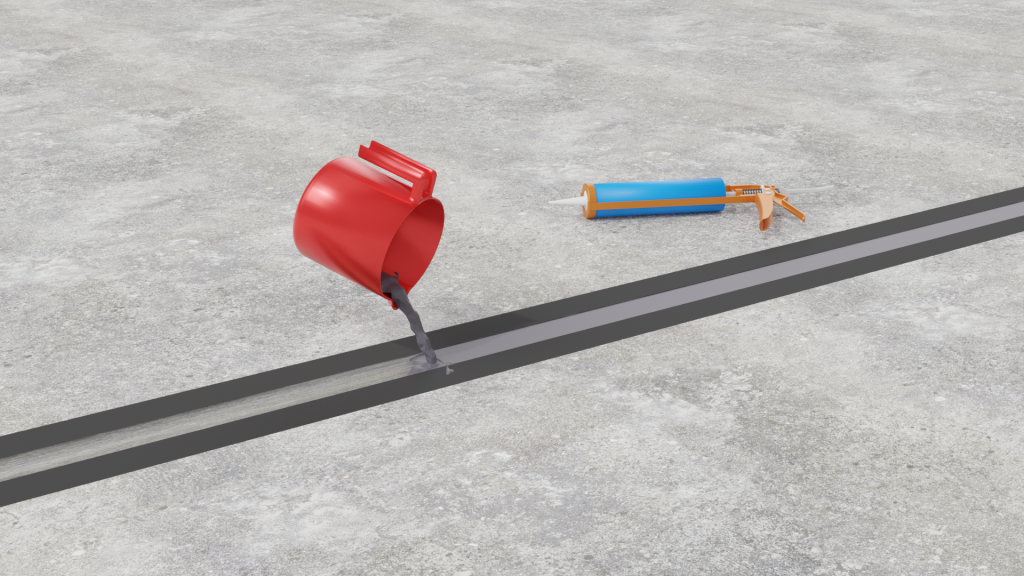
With the slabs/screeds now installed and hardened, if a joint filler is to be used, simply remove the caps and “Hook” out the Ferrules, then pour the flexible joint filler into the top void of the rails, level with the slabs/screeds.